


 There is nothing more frustrating than opening your camera roll and seeing that your photos are blurry.
You carefully framed the shot, waited for the perfect light, and pressed the shutter, only to find that the image is soft and lacking definition.
If you have ever asked yourself, “Why are my photos always blurry?” you are not alone. This is one of the most common challenges for photographers at every level. The good news is that there are simple solutions, and once you know what to look for, you will quickly move from disappointment to confidently capturing sharp shots.
Blurry photos usually come down to a few key issues: camera shake, incorrect focus, subject movement, lens choices, or even small habits that go unnoticed. I will walk you through seven practical fixes that will help you transform your blurry images into crisp, professional-looking photos.
1. Steady Your Camera
Camera shake is often the biggest culprit. Even the slightest movement while pressing the shutter can soften your photo. A tripod is your best ally when shooting landscapes, long exposures, or low-light scenes. If a tripod is not practical, brace your elbows against your body, hold your breath gently as you click, and use both hands firmly on the camera. A small change in your stance can dramatically improve sharpness.
2. Increase Your Shutter Speed
A slow shutter speed will always increase the risk of blur, especially with handheld shooting. A general rule is to keep your shutter speed faster than the reciprocal of your focal length. For example, if you are shooting at 200mm, use at least 1/200s. For moving subjects, go even faster. Sports, wildlife, and action shots often require 1/500s or more to freeze motion cleanly.
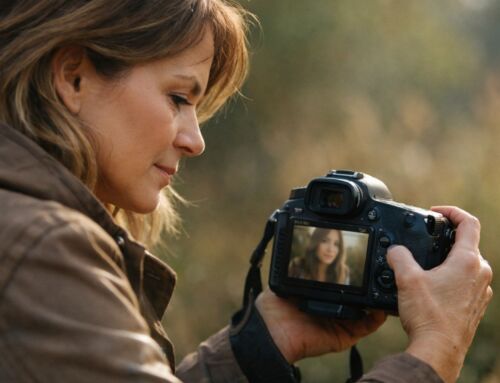
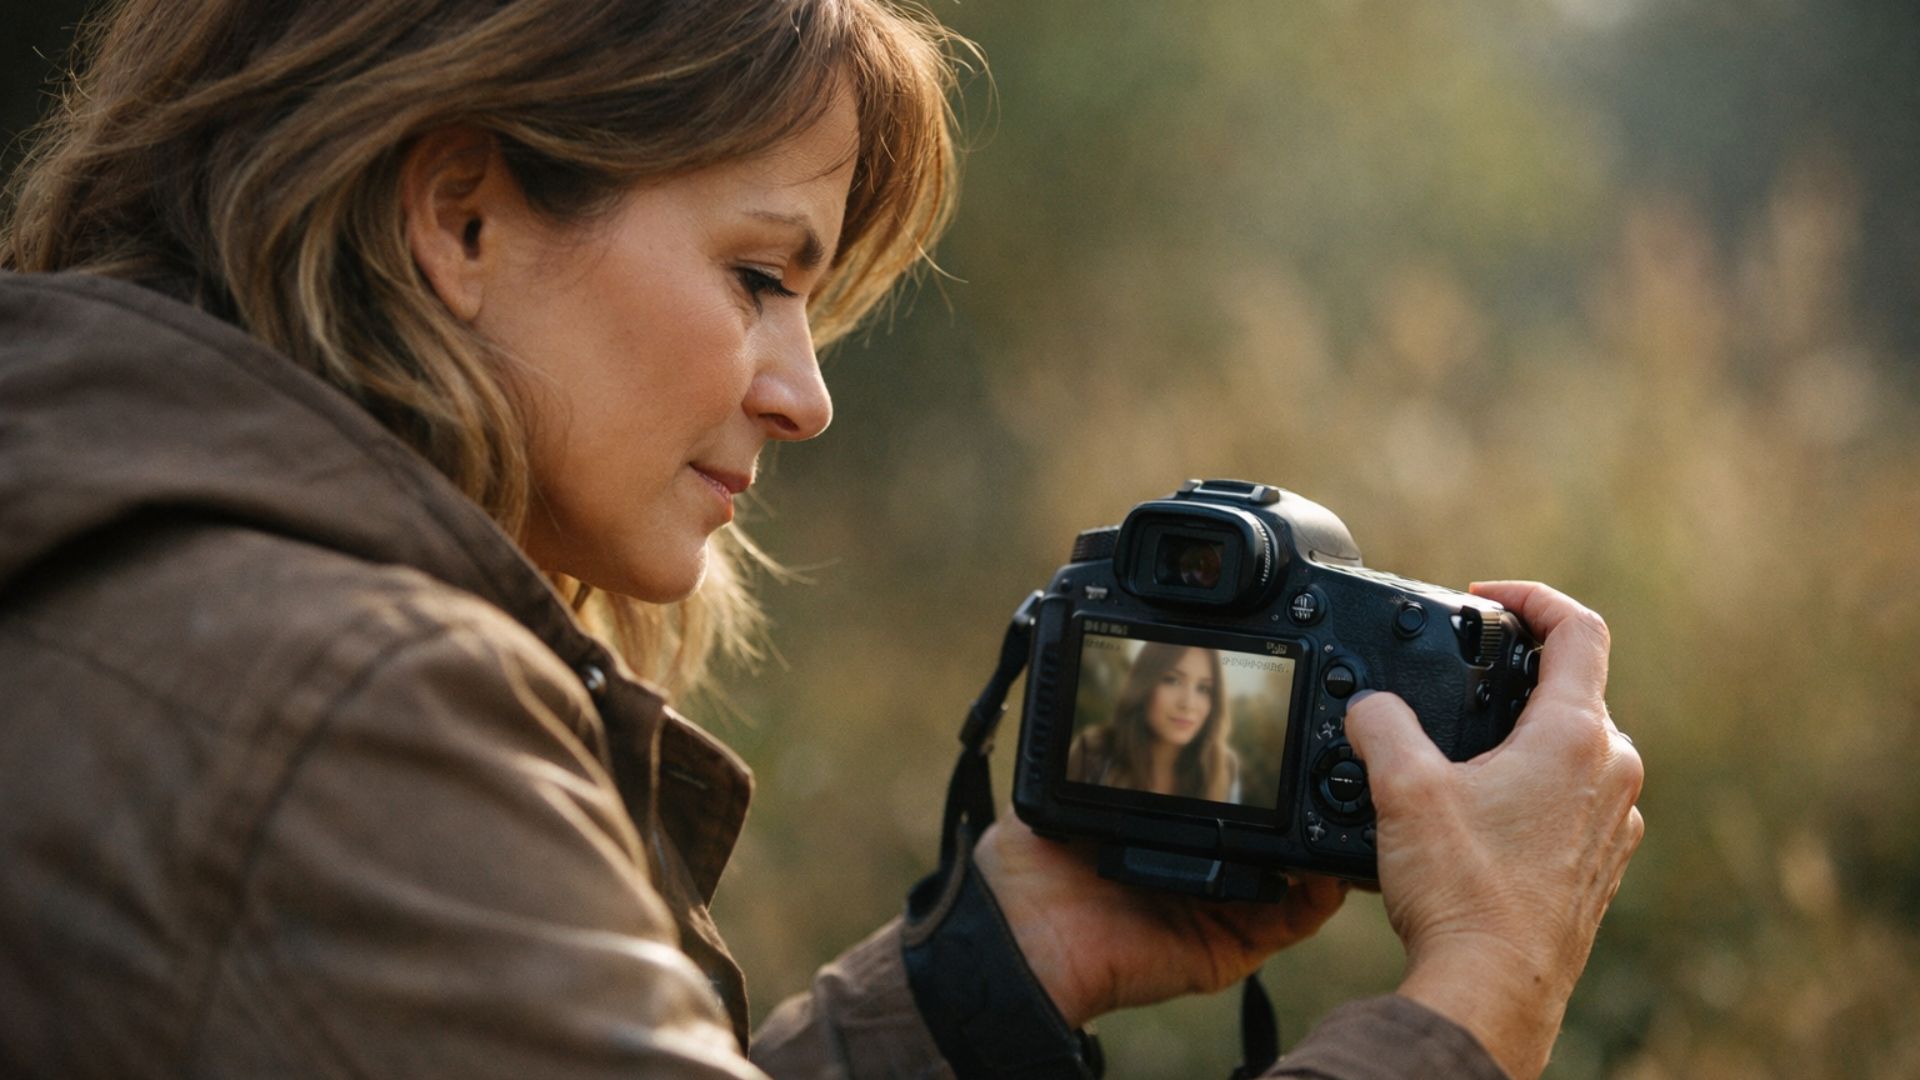
3. Nail Your Focus
Autofocus is smart, but it is not perfect. Sometimes your camera locks onto the wrong area, leaving the subject soft. Use single-point autofocus for portraits or subjects where precision matters, and make sure the focus point is directly on the eyes if you are photographing people. For landscapes, use a smaller aperture and focus about one third into the frame for greater depth of field.
4. Watch Your Depth of Field
Blurry images are sometimes a depth of field issue rather than a technical mistake. If your aperture is wide open at f/1.8, only a small part of your subject will be sharp, and the rest will naturally fall out of focus. That can be beautiful for portraits, but if you want an entire scene sharp, stop down to f/8 or f/11. Knowing how aperture impacts sharpness will help you decide the right settings for each scene.
5. Manage Subject Movement
Even if your technique is solid, moving subjects can ruin sharpness. Children, pets, or athletes are unpredictable, and if your shutter speed is too slow, you will end up with motion blur. Anticipate their movements, set your camera to continuous autofocus, and use burst mode so you have multiple frames to choose from. Sometimes just one in the sequence will be perfectly sharp.
6. Clean Your Lens and Filter
It sounds obvious, but a dirty lens can create the illusion of softness. Smudges, fingerprints, or dust on your lens or filter can scatter light and reduce clarity. Always carry a microfiber cloth in your camera bag and give your lens a quick clean before important shots. This small habit saves hours of frustration later.
7. Use Image Stabilisation and Remote Shutters
Modern cameras and lenses often come with image stabilisation. Turn it on when you are handholding, but turn it off when mounted on a tripod to avoid micro-vibrations. Another easy fix is to use a remote shutter release or the self-timer function to reduce shake caused by pressing the shutter button.
I remember when I first started photographing evening cityscapes. No matter how carefully I composed, my images came out blurry. After some trial and error, I realised I was shooting handheld at slow shutter speeds. Switching to a tripod and using a remote shutter release transformed my results instantly. That one change opened up a whole new style of photography for me.
Wrapping Up
If you are still asking, “Why are my photos always blurry?” the answer lies in one of these seven areas. Steady your camera, adjust your shutter speed, check your focus, control depth of field, account for subject movement, keep your lens clean, and take advantage of stabilisation tools. Blurry photos are not a sign of failure, they are simply signals that something in your technique or settings needs fine-tuning. By applying these fixes, you will move from guessing to knowing exactly how to capture sharp, professional-quality images every time.
Want more tips like this straight to your inbox? Join my newsletter here for editing tutorials, presets, and creative tools. Support my work or grab more tutorials on Buy Me a Coffee.
Do you want to learn more?? You’ll also find my courses, Edit Like a Pro, Canva Crash Course, and Freedom Fund, designed to help you grow your skills and freedom.


Leave A Comment