



“When my camera focuses on the background instead of the person, I do not assume the autofocus system has failed. I look at what in the frame was easiest for the camera to recognise.”
— Helen Oakes
Why does your camera focus on the background instead of your subject? It is a common and maddening problem, especially when the focus box appears to sit on the person, animal or object you wanted sharp.
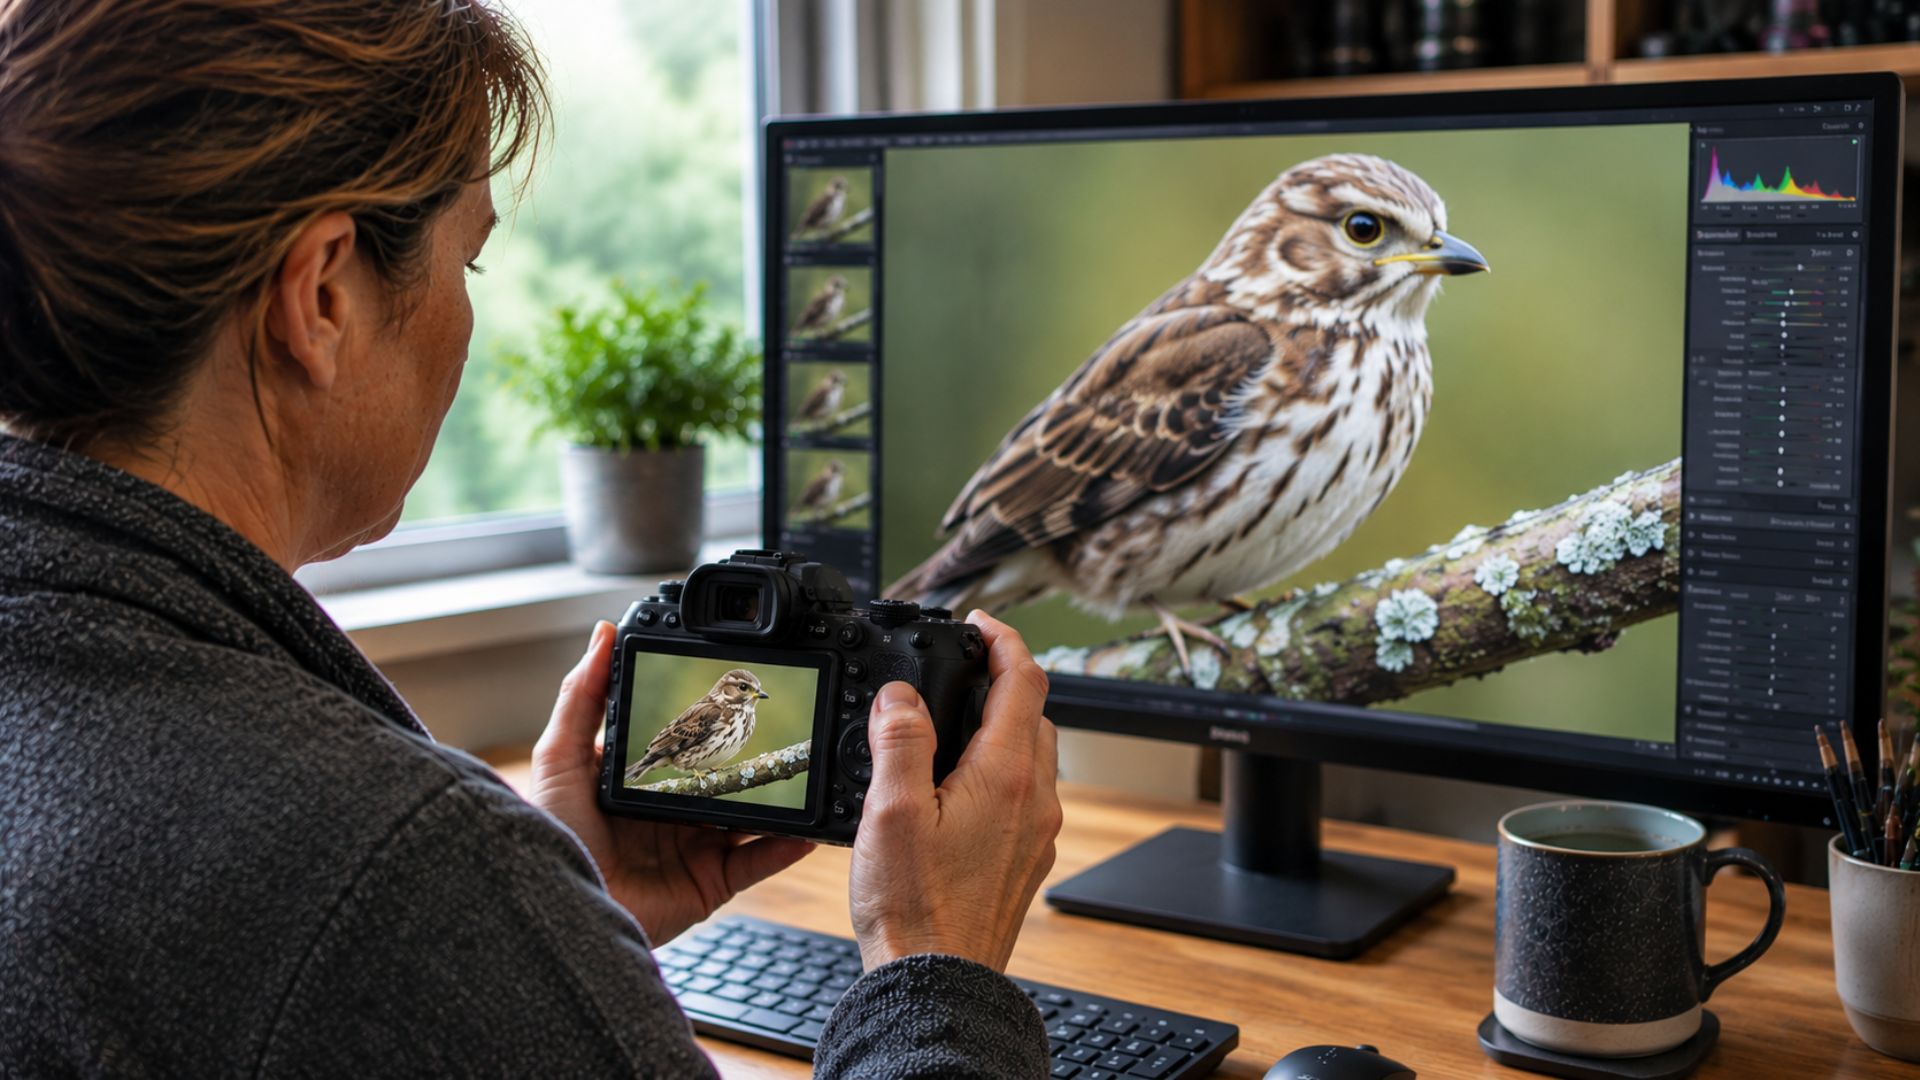
When this happens, I first look for the sharpest detail in the photograph. If branches, leaves, a fence line or the background are crisper than the subject, the camera probably chose the strongest contrast rather than the detail you intended.
Quick Answer
Your camera usually focuses on the background because the autofocus area is too large, the background has stronger contrast, the subject is too small in the frame, or eye detection has lost the intended person. A busy scene gives the camera several possible targets, and it does not understand which one matters creatively.
I normally fix the problem by reducing the focus area, guiding eye or subject detection, filling more of the frame with the subject and using continuous autofocus when the subject is moving.
Why Autofocus Chooses the Background
Autofocus systems look for recognisable detail and contrast. A bright branch against a dark hillside, a fence line, patterned clothing or a sharp edge in the distance may be easier to detect than a softly lit face.
This is why the problem often appears in wildlife, sport, outdoor portraits and trail photography. The subject may be surrounded by grass, leaves, spectators or other strong shapes that compete for attention.
If you are unsure whether the camera missed focus or the subject moved, read Motion Blur or Missed Focus? How I Tell What Ruined a Photo. That guide explains the visual clues I use before changing camera settings.
Photo Diagnosis
Problem: The background is sharp, but the intended subject is soft.
Likely causes: A large autofocus area, strong background contrast, eye detection choosing the wrong person, a small subject, interrupted tracking or the wrong autofocus mode.
Check first: View the original image at 100 percent and identify the sharpest object in the frame.
Do not assume: The camera or lens is faulty. Autofocus may have worked perfectly, but on the wrong target.
1. The Autofocus Area Is Too Large
A wide or automatic focus area gives the camera freedom to choose from much of the frame. That can work well in a clean scene, but it becomes risky when the subject is surrounded by branches, signs, grass or people.
The camera may place a box around the subject while still favouring a stronger edge inside or beside that box. The larger the area, the more possible targets the autofocus system has to evaluate.
What I do
I reduce the autofocus area when precision matters. A smaller zone, spot area or guided eye-detection mode gives the camera less opportunity to jump onto the background.
2. The Background Has More Contrast Than the Subject
Autofocus likes clear edges. A face in flat light may offer less contrast than a dark tree trunk, a bright fence or sunlit leaves behind it.
This is particularly noticeable in mist, backlighting or low light. The lens may focus quickly, but it chooses the easier high-contrast object rather than the softer subject.
What I do
I place the focus area over an eye, eyelash, clothing edge or another defined detail on the subject. I may also change my position so the background is simpler or less contrasty.
3. The Subject Is Too Small in the Frame
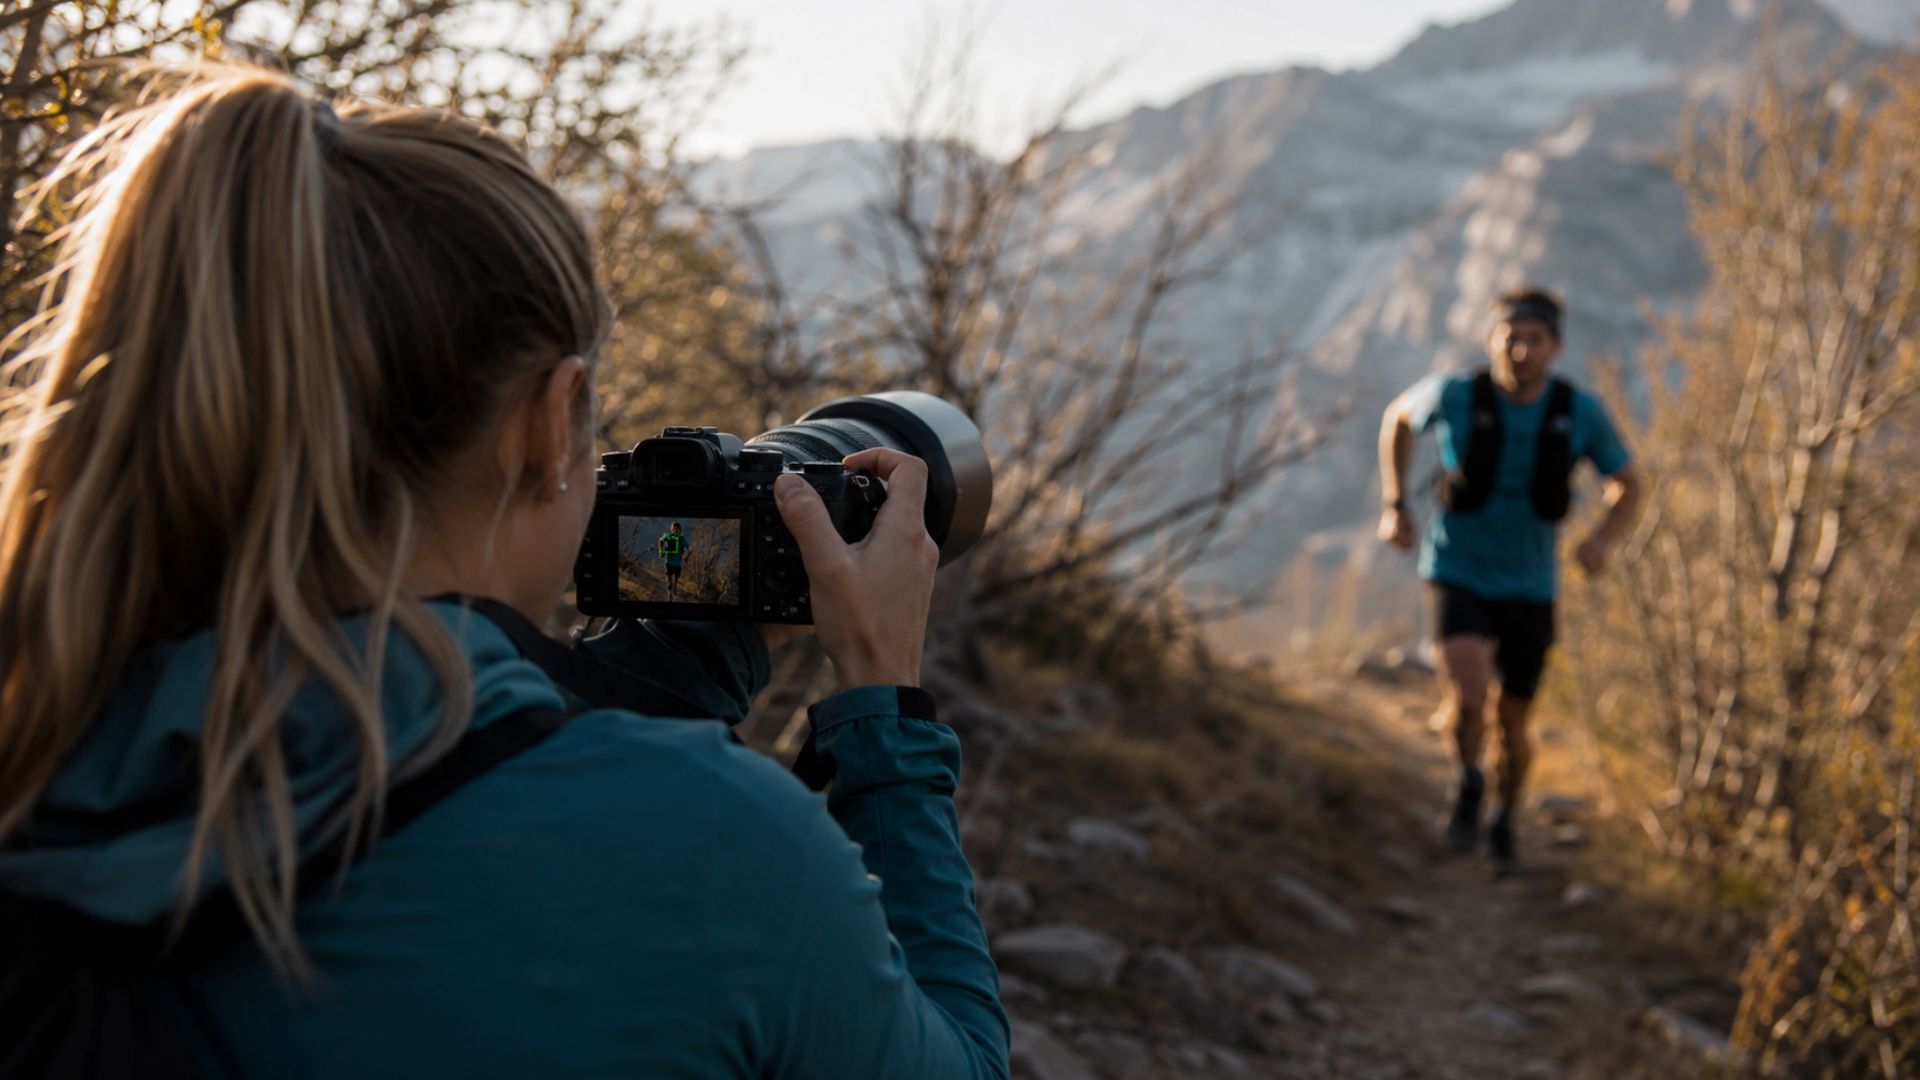
When a runner, bird, animal or person occupies only a small portion of the image, the background takes up most of the autofocus area. The camera has far more background information than subject information to work with.
This is one reason autofocus may repeatedly grab leaves in front of wildlife or a distant hillside behind a runner. The subject is not visually dominant enough for automatic selection.
What I do
I move closer when it is safe, use a longer lens or keep a smaller focus area directly on the subject. Filling more of the frame helps both subject detection and accurate focus placement.
4. Eye Detection Has Lost the Subject
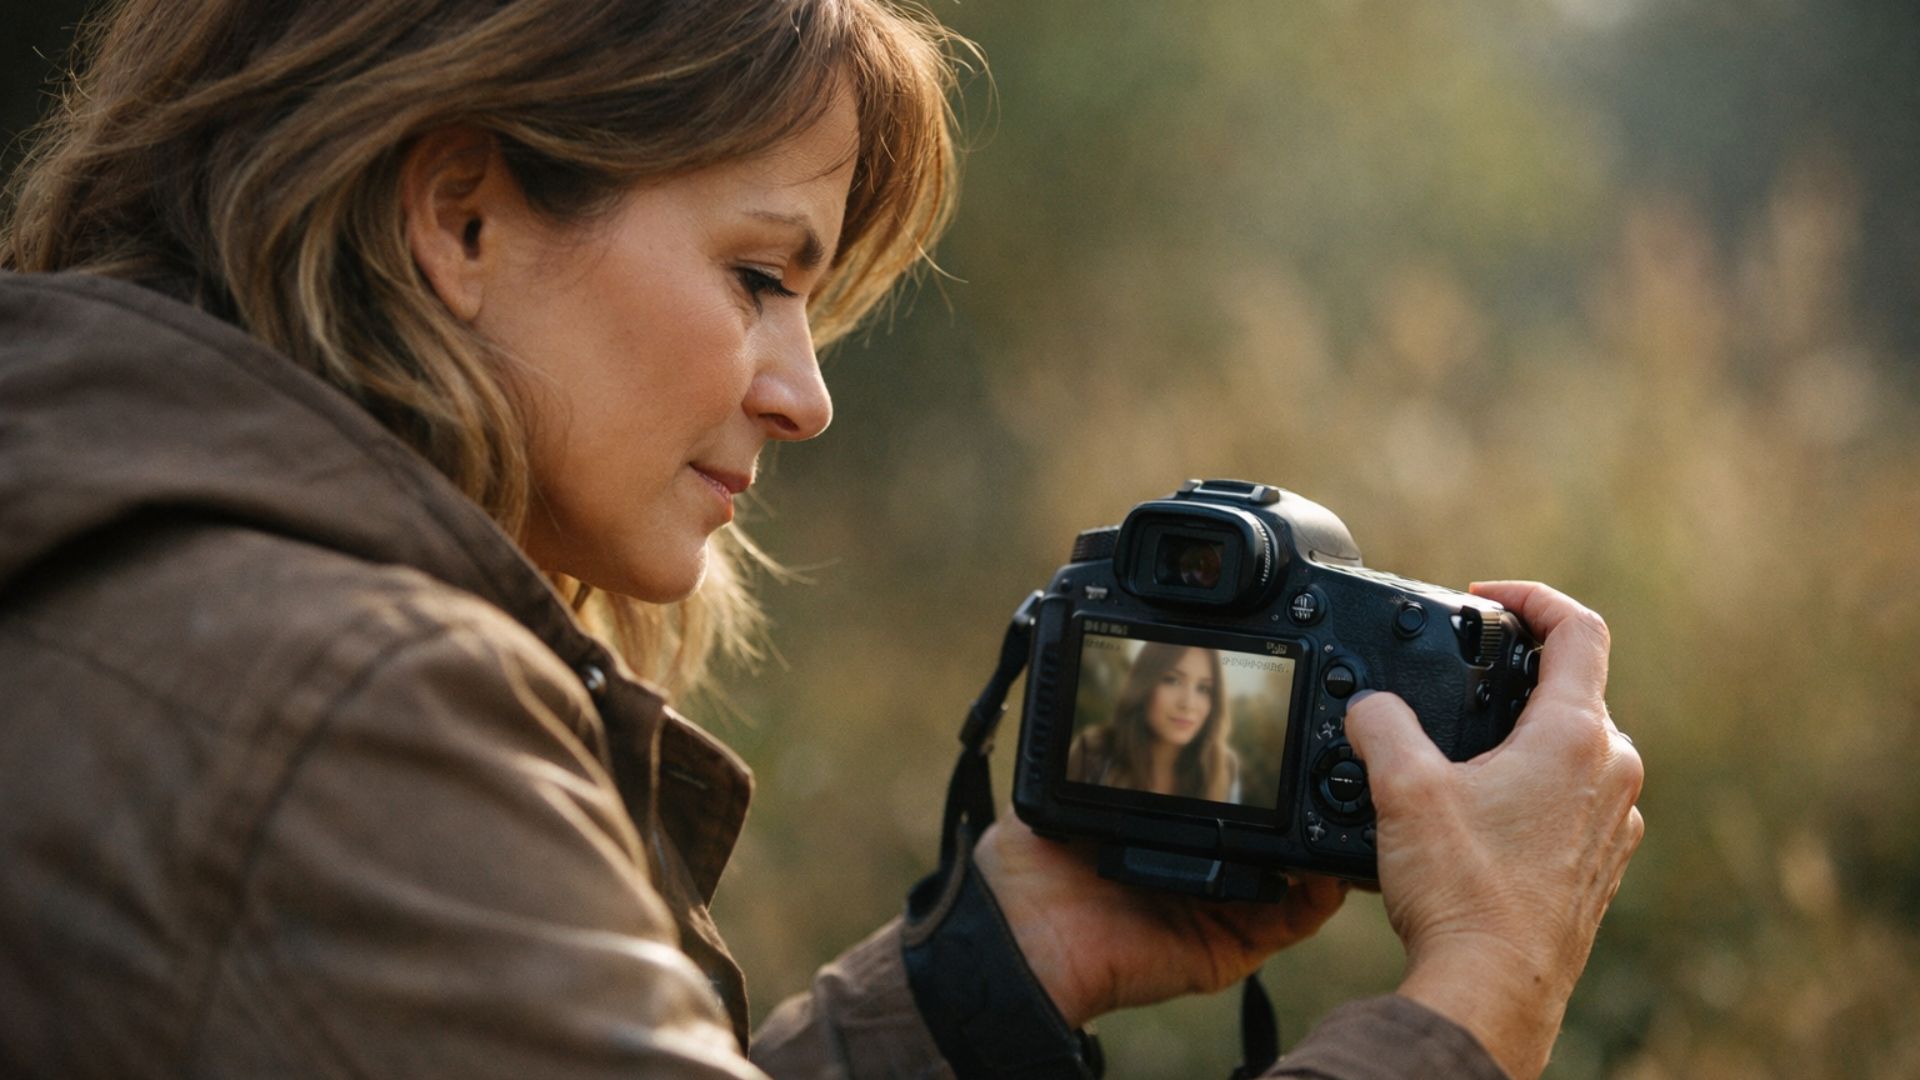
Eye detection can lose a face when the person turns away, looks down, becomes partially hidden or moves behind another object. The camera may then switch to the background or another person.
In groups, it may select the nearest or highest-contrast face instead of the person you intended. The autofocus system is making a technical choice, not reading your creative plan.
What I do
I watch which eye or person is selected and switch targets when the camera allows it. If detection becomes unreliable, I use a smaller focus area and guide the camera manually.
5. Something Passes Between the Camera and Subject
Branches, spectators, another runner or even a hand moving through the frame can interrupt tracking. Once the camera loses the subject, it may latch onto the background and stay there.
This happens quickly in action photography, and the photographer may not notice until reviewing the sequence later.
What I do
I begin tracking before the important moment and try to keep the focus area on the upper body or face. I also anticipate obstacles and change my angle when possible.
6. The Autofocus Mode Does Not Suit the Subject
Single autofocus locks at one distance, while continuous autofocus keeps adjusting. If a subject is moving towards or away from you, single autofocus can leave the focus plane behind.
The camera may then appear to have focused on the background, when the real problem is that the subject moved after focus was locked.
What I do
I use continuous autofocus for movement and single autofocus for genuinely still subjects. For runners, animals and active children, I begin tracking before I press the shutter fully.
7. A Wide Aperture Makes the Error Look Worse
At f/1.4 or f/1.8, only a narrow slice of the scene may be sharp. If focus lands just behind the eye, the background can appear noticeably crisper than the face.
The camera may only have missed by a few centimetres, but the shallow depth of field makes the mistake look dramatic.
What I do
I close the aperture slightly when I need a higher success rate. Moving to f/2.8 or f/4 gives the subject more depth without removing all the background blur.
8. Movement Softness Is Being Blamed on Autofocus
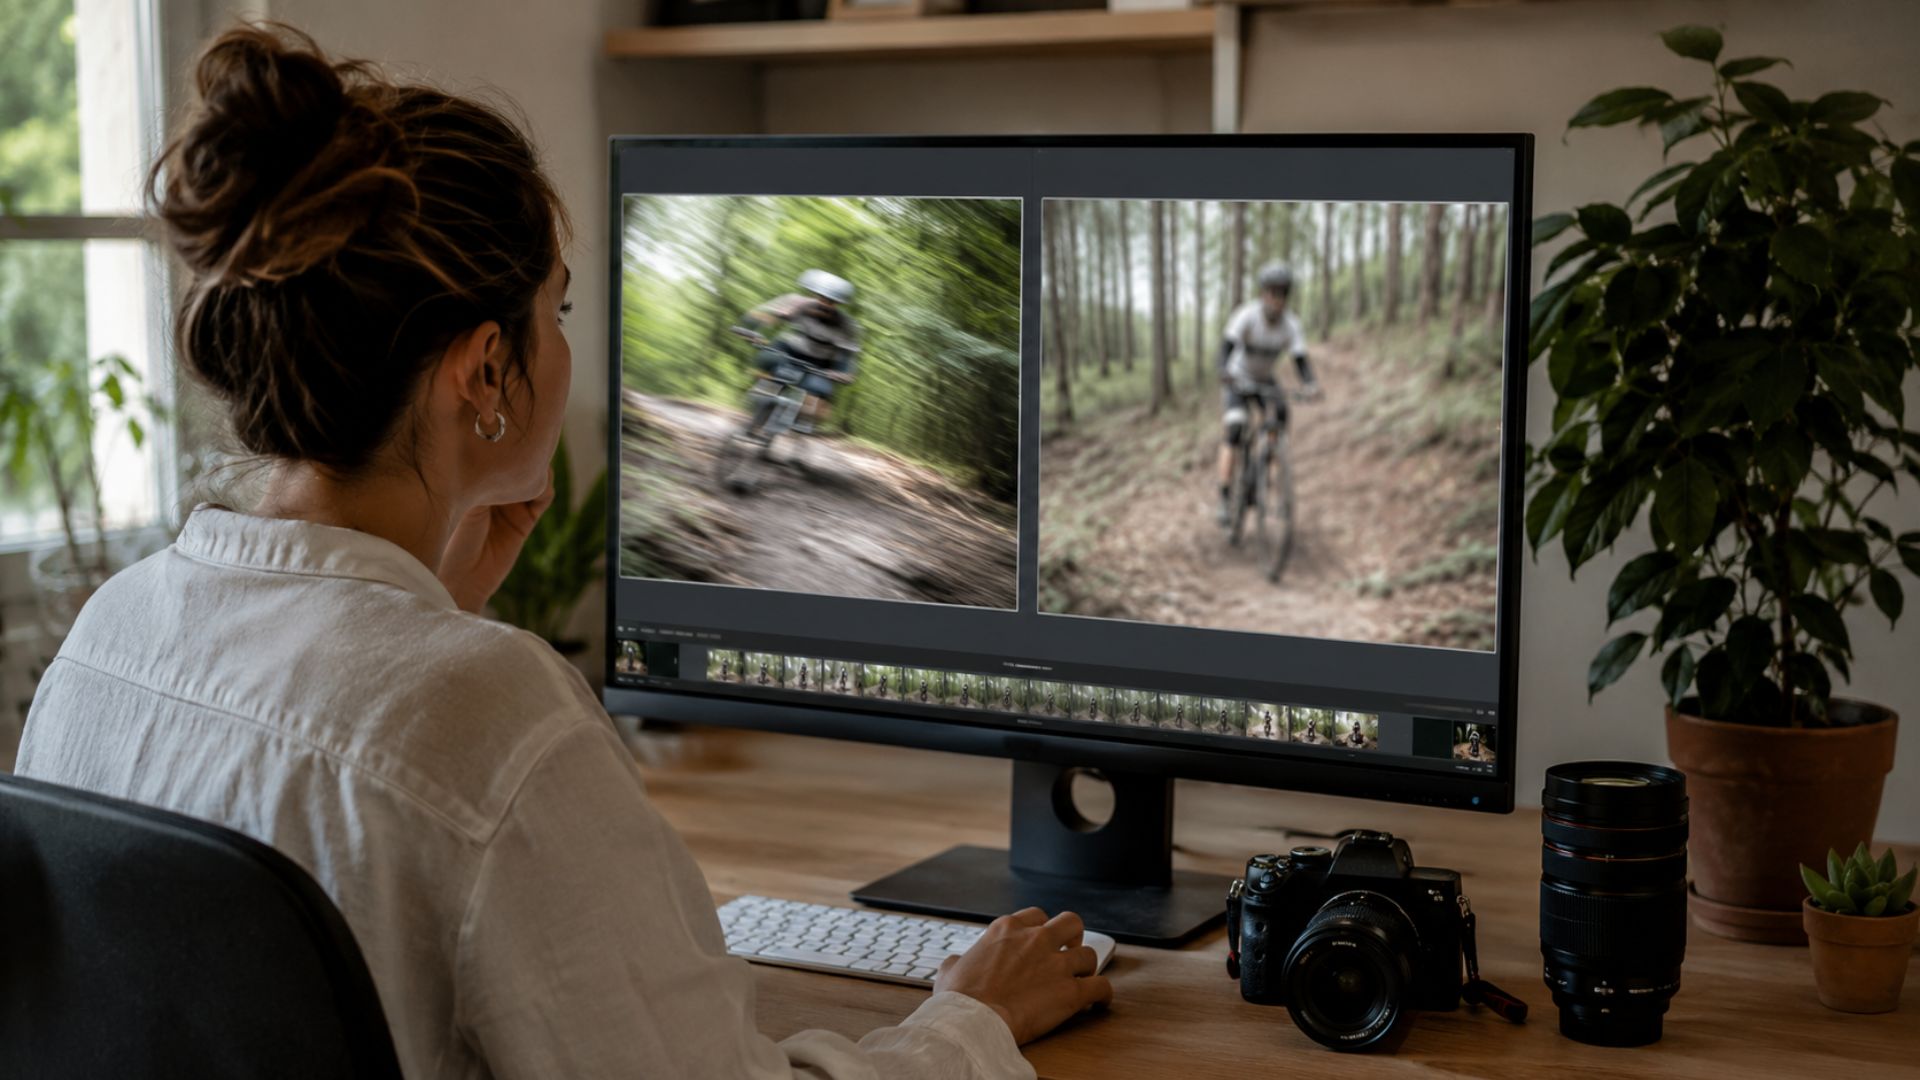
Sometimes the background is sharp because it did not move, while the subject softened during the exposure. The autofocus may have tracked correctly, but the shutter speed was too slow to freeze the person or animal.
For a broader explanation, read What I Check When a Photo Is in Focus but Still Looks Soft. That article separates focus errors from shutter speed, depth of field, lens softness and editing issues.
What I do
I check the shutter speed before changing autofocus settings. A slightly higher ISO is often a better compromise than a clean photograph with movement softness.
9. The Camera Is Hunting Instead of Locking
Focus hunting happens when the lens moves backwards and forwards without settling. Low light, low contrast and plain surfaces can all make it difficult for the autofocus system to find a clear target.
The camera may eventually settle on the background because it offers a stronger edge than the subject.
What I do
I move the focus point onto a clearer detail, add light if possible or focus on another object sitting on the same plane. I avoid repeatedly asking the camera to focus on a smooth, low-contrast surface.
10. The Focus Point Has Moved Without You Noticing
A joystick, touchscreen or control dial can move the active point accidentally. Some cameras also remember the last focus position, so it may not be where you expect when you lift the camera again.
This simple issue can ruin an entire sequence if the photographer is concentrating on timing rather than the viewfinder display.
What I do
I check the active point before an important set of photographs and recentre it when necessary. If touchscreen focus keeps moving accidentally, I disable it while shooting.
The Simple Test I Use
I place a detailed object in front of a busy background and photograph it using a wide autofocus area. I then repeat the photograph with a small focus point placed directly on the object.
The comparison makes the problem obvious. The wide area may choose the strongest background edge, while the smaller point gives the camera a clear instruction.
The Order I Use to Fix Background Focus
- Find the sharpest detail in the original photograph.
- Check whether the subject moved during the exposure.
- Reduce the autofocus area.
- Confirm which eye, person or subject was detected.
- Use continuous autofocus for moving subjects.
- Fill more of the frame with the subject.
- Simplify the background or change the shooting angle.
- Close the aperture slightly when depth of field is extremely narrow.
- Test the camera on a stationary high-contrast target.
Key Takeaways
- Autofocus often chooses the background because it contains stronger contrast.
- A large focus area gives the camera too many possible targets.
- Small or partially hidden subjects are harder for subject detection to recognise.
- Eye detection can lose the intended person or switch subjects.
- Movement softness and shallow depth of field are often mistaken for background focus.
- A smaller focus area is usually the quickest practical fix.
- For a wider guide to blurry photographs, read Why Are My Photos Always Blurry? 7 Fixes for Sharp Shots. It covers camera shake,
- shutter speed and other common causes of softness.
Keep Learning With 5 Fast Fixes for Flat Photos
If you want a simple reference you can return to while editing, I have put together a short PDF called 5 Fast Fixes for Flat Photos. It covers common problems beginners run into and shows you how to improve them without overcomplicating the edit.
If you want personalised help diagnosing an image, the paid Photo Fix & Edit Assistant can guide you through what went wrong and which correction is worth trying.
If you would rather have me edit your photograph for you, visit Fix My Photo on Buy Me a Coffee.
If there is a photography or Lightroom problem you are struggling to understand, leave a comment below. I read the questions and use real problems to shape future Photo Fix articles.




Leave A Comment