


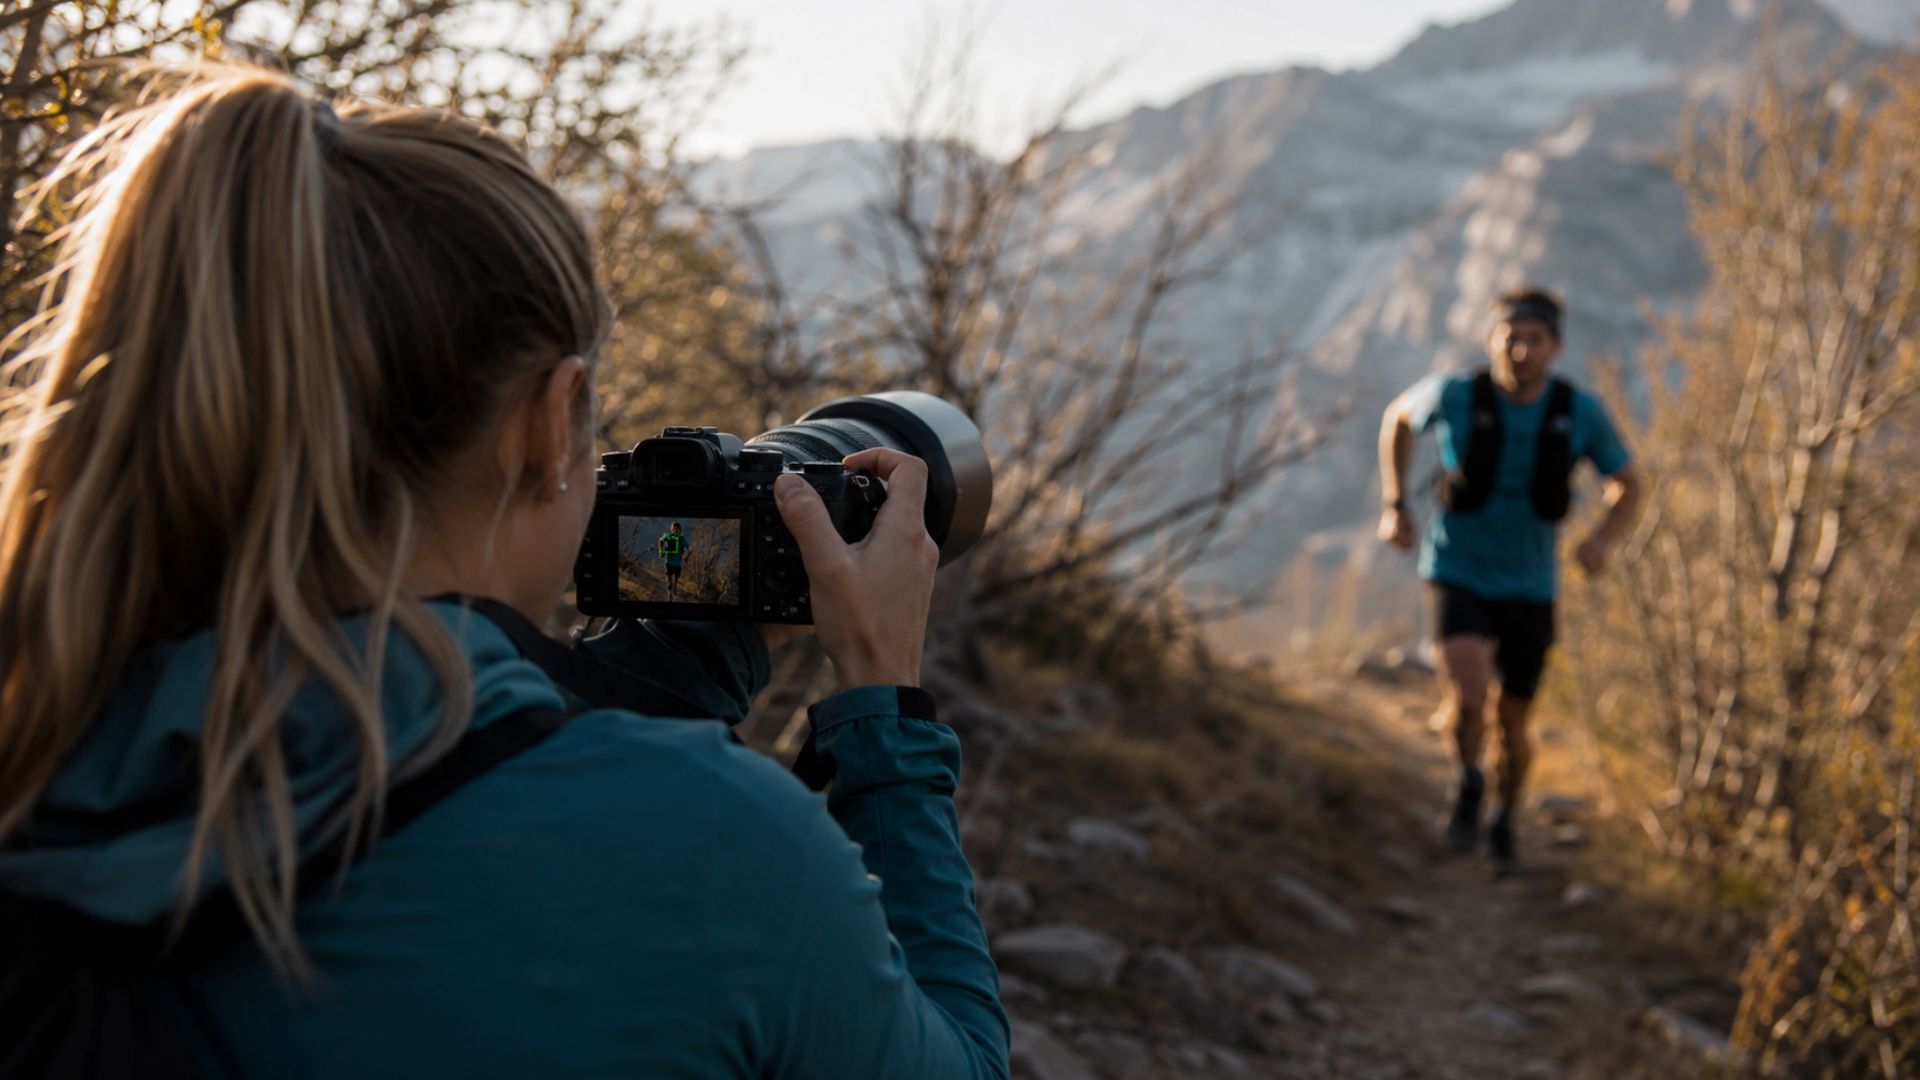
“When autofocus misses, I do not assume the camera is faulty. I look at what the camera was being asked to recognise, follow and prioritise.”
— Helen Oakes
When autofocus keeps missing your subject, it is tempting to blame the camera or lens straight away. I have had plenty of frames where the focus box looked correct, yet the eyes, face or moving subject were not the sharpest part of the photograph.
Before I decide the autofocus failed, I check what the camera was being asked to detect, how large the focus area was, whether the subject had enough contrast, and whether the shutter speed created additional softness. Autofocus problems are often a combination of settings, movement and subject conditions rather than one dramatic equipment failure.
Quick Answer
Autofocus may keep missing your subject because the focus area is too large, eye detection selects the wrong person or eye, the subject lacks contrast, the lens cannot keep up with movement, or the camera is using the wrong autofocus mode.
I start by finding the sharpest detail in the frame and checking whether focus landed in front of, behind or beside the subject. I then review the autofocus mode, subject detection, focus area, aperture, shutter speed and shooting sequence.
How I Know Autofocus Actually Missed
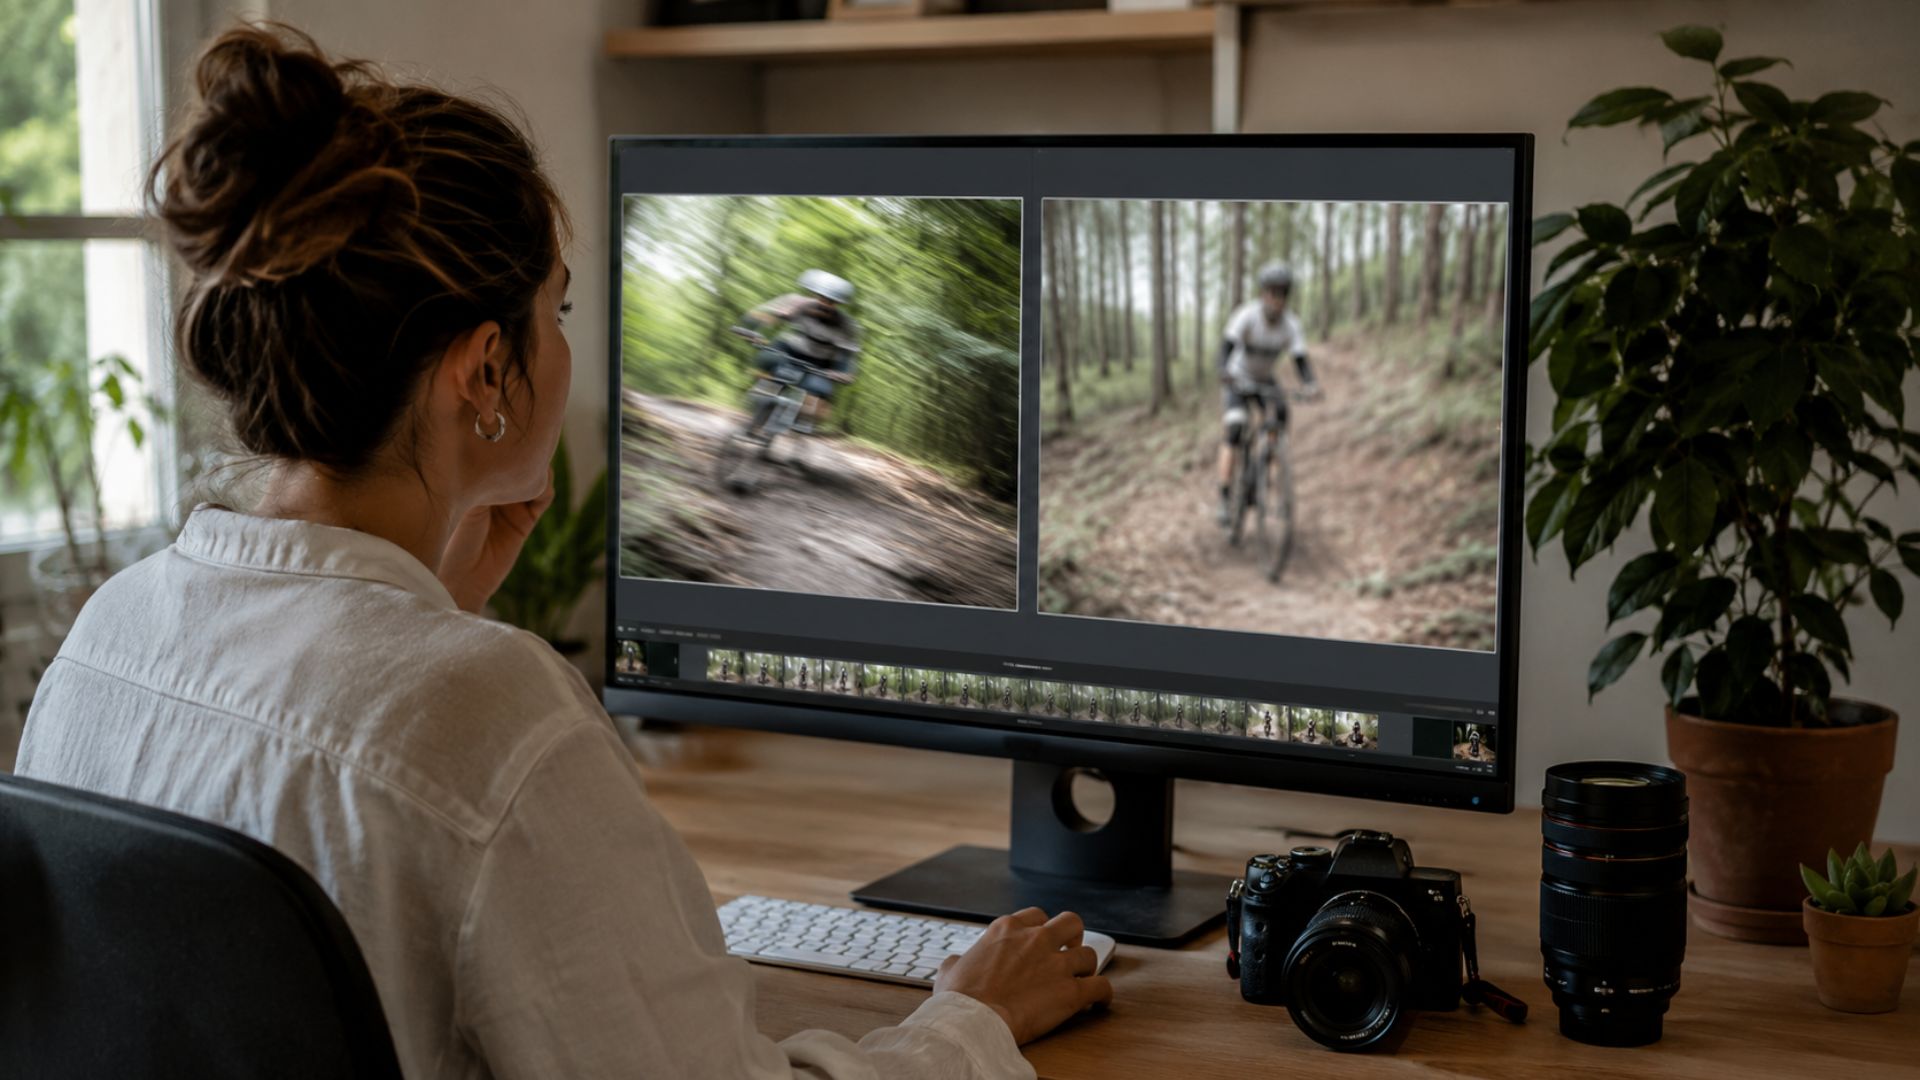
A soft subject does not automatically prove autofocus failed. Movement, camera shake and very shallow depth of field can create a similar result, even when the focus point was placed correctly.
If you are not sure which problem you are seeing, read Motion Blur or Missed Focus? How I Tell What Ruined a Photo. That article shows the visual clues I use before I start changing autofocus settings.
Photo Diagnosis
Problem: The camera appears to lock onto the subject, but the important detail is not sharp.
Common symptoms: Sharp background, sharp hair but soft eyes, focus jumping between people, inconsistent results in a burst, or the camera refusing to lock on at all.
Likely causes: An unsuitable focus area, the wrong autofocus mode, weak contrast, eye detection choosing the wrong target, shallow depth of field, subject movement, lens limitations or dirty contacts.
What I check first: I find the sharpest detail in the image, then compare it with the focus mode and focus area used.
1. The Focus Area Is Too Large
A large autofocus area gives the camera more information, but it also gives it more choices. If the frame contains a face, glasses, hair, clothing, branches and a high-contrast background, the camera may select the easiest detail rather than the one you care about.
This is why a focus box can appear to cover the eye while the eyebrow, glasses frame or nearby background ends up sharper. The camera has focused successfully, but the selected area was too broad to guarantee precision.
What I do
I reduce the focus area when accuracy matters. For a portrait, a small zone, spot area or reliable eye-detection mode usually gives me more control than a full-frame automatic area.
2. Eye Detection Has Chosen the Wrong Eye or Person
Eye detection is extremely useful, but it is not infallible. In a group, it may choose the closest face, the highest-contrast eye or a person entering the edge of the frame.
With a single subject, the camera may jump between the nearest and farthest eye as the person turns. At a wide aperture, that small change can be enough to make the eye you wanted appear soft.
What I do
I watch the detection box rather than assuming it has selected the correct subject. When the camera allows it, I switch the detected person or eye, or use a smaller focus area to guide the system.
3. The Subject Does Not Have Enough Contrast
Autofocus needs something it can recognise. A dark subject against a dark background, flat lighting, mist, backlighting or a plain surface can make it harder for the camera to find a clear edge.
In these conditions, the lens may pulse backwards and forwards or lock onto a brighter object nearby. This is often described as focus hunting.
What I do
I place the focus point over an edge with more contrast, such as the eye, eyelashes, clothing seam or the line between the subject and background. I may also change my angle, add light or focus on a nearby detail sitting on the same plane.
4. The Autofocus Mode Does Not Match the Subject
A stationary subject and a moving subject place very different demands on autofocus. Single autofocus is designed to lock and hold, while continuous autofocus keeps adjusting as the subject or camera moves.
Using a single-shot mode for a runner, animal or active child can leave focus behind as soon as the subject changes distance. Using continuous autofocus for a completely still detail may work, but it can also make the focus shift unnecessarily.
What I do
For still subjects, I use the camera’s single autofocus mode when I want focus to lock. For moving subjects, I use continuous autofocus with subject or eye tracking where it is reliable.
5. The Camera Cannot Follow the Subject’s Movement
Autofocus performance depends on how quickly and predictably the subject moves. A runner coming directly towards the camera is harder to track than someone moving across the frame at a steady distance.
Sudden changes in direction, obstacles crossing the subject and erratic movement can all cause the camera to lose the target. The camera may then grab the background before it finds the subject again.
What I do
I begin tracking before the decisive moment and keep the focus area on the subject as smoothly as possible. I also take a short burst because focus can shift slightly between frames even when the tracking is working well.
6. The Aperture Is Making a Small Error Look Bigger
Very wide apertures create a narrow depth of field. At f/1.4 or f/1.8, focus can land only a few centimetres away from the intended eye and still make the photograph look badly missed.
The camera may have focused on the eyelashes, eyebrow or closest cheek rather than the iris. The error appears dramatic because so little of the subject sits inside the sharp plane.
What I do
I close the aperture slightly when I need a higher success rate. Moving from f/1.8 to f/2.8 or f/4 often provides enough depth of field to absorb a small focus shift without losing all the background separation.
7. The Shutter Speed Is Creating Softness That Looks Like Bad Focus
Autofocus can be accurate while a slow shutter speed softens the eyes, face or entire subject. This is especially common when people turn their heads, talk, laugh or move naturally during a portrait.
For the wider causes of soft photographs, read What I Check When a Photo Is in Focus but Still Looks Soft. That guide separates focus accuracy from movement, depth of field, lens performance and editing.
What I do
I check the shutter speed before I change autofocus settings. A sharper frame with a slightly higher ISO is usually easier to improve than a cleaner file with movement softness.
8. The Lens May Be Slowing the System Down
Different lenses focus at different speeds. A fast professional lens may acquire and track focus more confidently than an older, slower or adapted lens, especially in low light.
The focusing motor, maximum aperture, glass movement and compatibility with the camera body can all affect performance. That does not mean a slower lens is unusable, but it may need more predictable conditions and technique.
What I do
I test the same subject with another lens when possible. If one lens repeatedly struggles while another performs well under the same conditions, the lens may be contributing to the problem.
9. The Lens or Camera Contacts Need Checking
Electronic communication between the camera and lens relies on clean contacts. Dirt, oxidation or a lens that is not seated properly can sometimes cause inconsistent focusing or communication errors.
This is not the first thing I assume, but it is a sensible check when a normally reliable setup suddenly behaves differently.
What I do
I turn the camera off, remove and reattach the lens, and check that it locks into place correctly. I avoid touching the contacts and follow the camera manufacturer’s cleaning guidance rather than scraping or using household products.
10. The Camera Is Focusing on the Background
Autofocus systems are often attracted to strong contrast. Bright leaves, fence lines, signs, branches and patterned backgrounds can all be easier to detect than a face in softer light.
This is common when the subject occupies a small part of the frame or when objects pass between the camera and subject. The background becomes a stronger target than the person or animal.
What I do
I use a smaller focus area, fill more of the frame with the subject and begin tracking before the background becomes distracting. When possible, I also change my position to simplify what sits behind the subject.
11. The Focus Point Is Not Where You Think It Is
A touchscreen, joystick or control dial can move the focus point without you noticing. I have also seen cameras remember a previous focus position when the photographer expects it to return to the centre.
Before an important sequence, I check the active focus area in the viewfinder. A quick glance can prevent an entire set of frames being focused near the edge of the image.
What I do
I recentre or reposition the focus point deliberately and confirm that the correct autofocus area is active. I also disable touchscreen focus when accidental contact keeps moving the point.
12. The Camera Settings Have Become Too Complicated
Modern autofocus menus offer subject detection, tracking sensitivity, switching behaviour, acceleration settings and custom cases. These controls are powerful, but they can make diagnosis harder when several have been changed at once.
I prefer to start with a simple setup that matches the subject, then change one setting at a time. That makes it much easier to see which adjustment actually improves the result.
What I do
For a moving person, I begin with continuous autofocus, human or eye detection and a manageable tracking area. For a still subject, I simplify the setup and concentrate on precise placement rather than adding more tracking options.
A Simple Autofocus Test I Use
I place a detailed stationary object in good window light and use a moderate aperture, a fast shutter speed and a single small focus point. I photograph the same detail several times, refocusing between each frame.
If the results are consistently sharp, the camera and lens can focus under controlled conditions. I then repeat the test with subject tracking or lower light to identify which condition causes the performance to change.
When I Suspect an Equipment Problem
I only begin to suspect equipment after I have ruled out movement, focus-area selection, depth of field, low contrast and user settings. A consistent front-focus or back-focus pattern across controlled tests deserves closer investigation.
Mirrorless systems focus directly from the image sensor, so traditional autofocus calibration issues are less common than they were with some DSLR setups. Even so, a damaged lens, communication fault or servicing issue is still possible.
The Order I Use to Diagnose Autofocus
- Find the sharpest detail in the original image.
- Check whether the softness is movement rather than missed focus.
- Review the active autofocus mode and focus area.
- Confirm which person, eye or subject the camera selected.
- Check aperture, shutter speed and depth of field.
- Compare several frames from the same sequence.
- Test the camera and lens on a stationary high-contrast subject.
- Change one setting at a time before blaming the equipment.
Key Takeaways
- A large focus area can make the camera choose the easiest detail rather than the intended one.
- Eye detection can select the wrong person or eye, especially in groups or changing poses.
- Low contrast, backlighting and cluttered backgrounds can cause focus hunting.
- Continuous autofocus is usually better for moving subjects, while single autofocus suits still subjects.
- Wide apertures make small focus errors look much more severe.
- Test under controlled conditions before deciding that the camera or lens is faulty.
Keep Learning With 5 Fast Fixes for Flat Photos
If you want a simple reference you can return to while editing, I have put together a short PDF called 5 Fast Fixes for Flat Photos. It covers common problems beginners run into and shows you how to improve them without overcomplicating the edit.
Get 5 Fast Fixes for Flat Photos and join my email list for practical photography and editing tips.
If you want a more structured way to diagnose your images, the Photo Fix & Edit Kit includes my guide, diagnosis checklist, Lightroom edit-order cheat sheet and the Photo Fix & Edit Assistant.
If you would rather have me edit the image for you, visit Fix My Photo on Buy Me a Coffee. If there is a photography or Lightroom problem you are struggling to understand, leave a comment below because I use real questions to shape future Photo Fix articles.





Leave A Comment